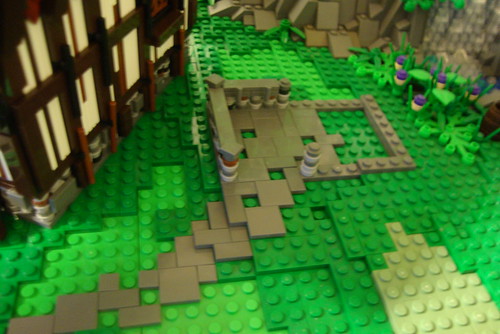
Right, the next part of the landscape is going to be built around a house, so first we need to build the house. For this we are going to use some of the techniques I covered earlier, but we are going to take it up a step and make it a bit more detailed and tricky. This house is going to be more of an intermediate build, not to difficult, but not easy. We need to be able to place this house at an angle, so the house will be built separately from the moc. I am not going to be building any interior to this house, as I won't be needing every house to have an interior, but feel free to add your own if you wish.
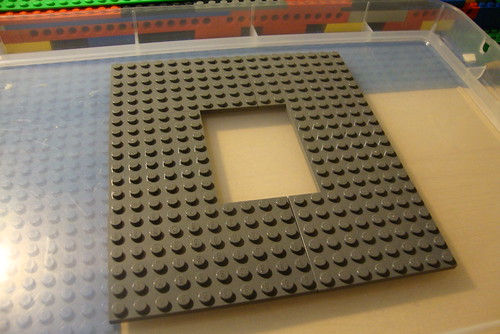
To start, we first lay some dark bley plates to make the base.
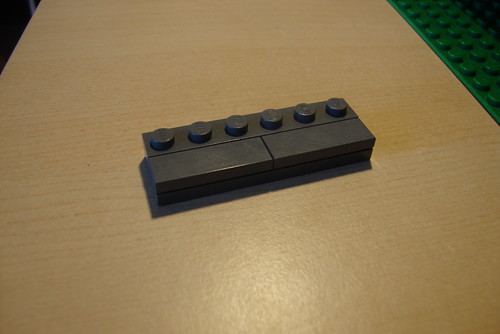
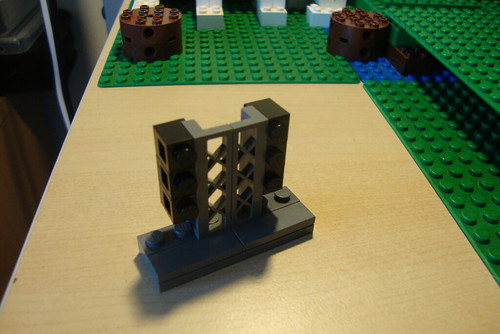
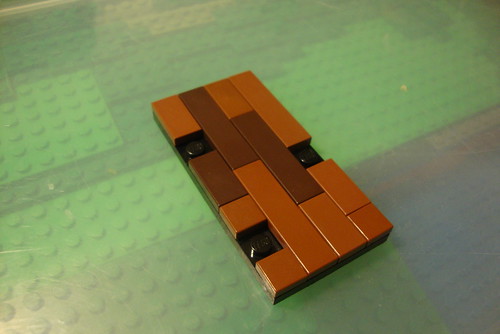
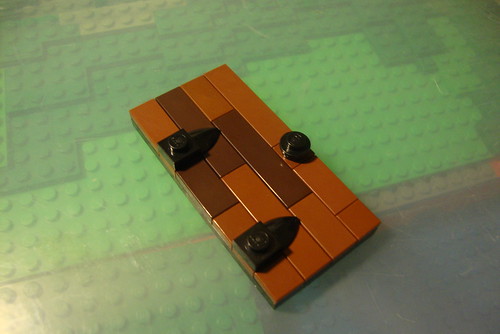
Then we build up a low wall of 1x1 round plates to the height of a 1x2 tile, which we will add in between the rounds. This technique should be familiar as I have covered how to do this part already. On top of the rounds I have layed some dark brown plates for the base of the woodwork and also added some stairs.
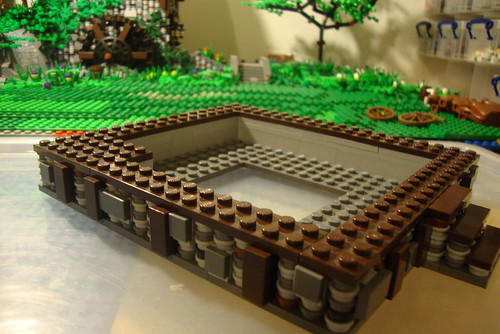
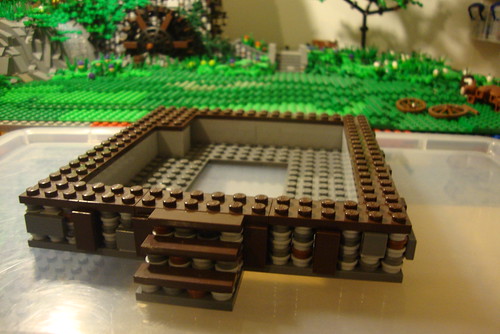
Next, we lay dark brown tiles on top of the plates so they are in between the vertical 1x2 tiles below.
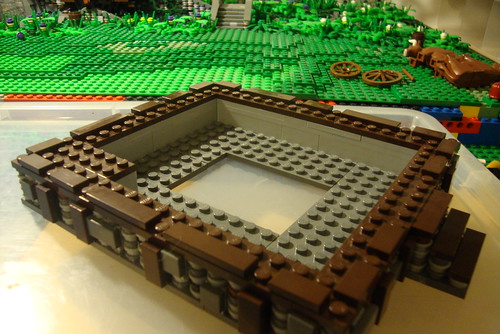
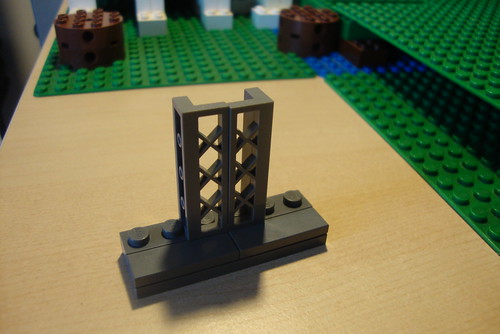
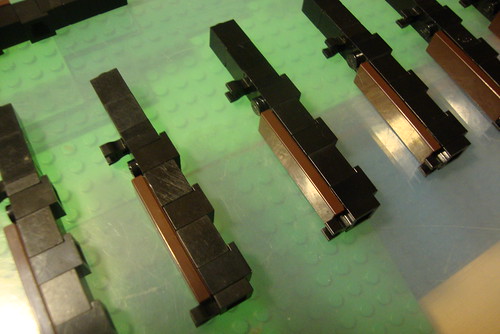
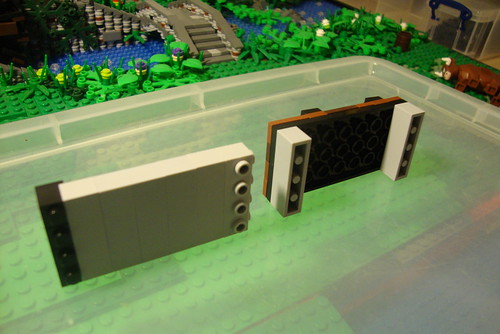
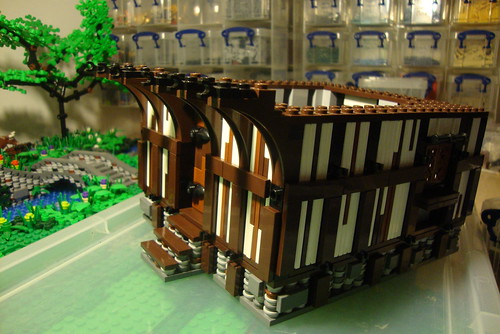
Then we can build some upright woodwork. We do this using headlight bricks on their side with a 1x1 brick in between each headlight brick. We can then attach a dark brown tile to the studs showing. This can be seen in the picture below.
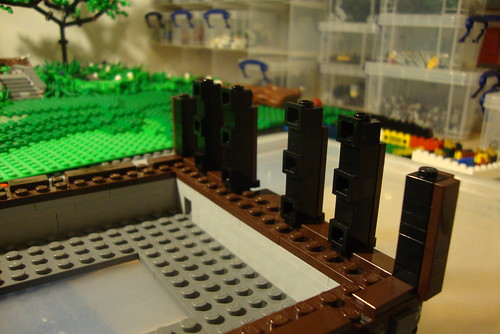
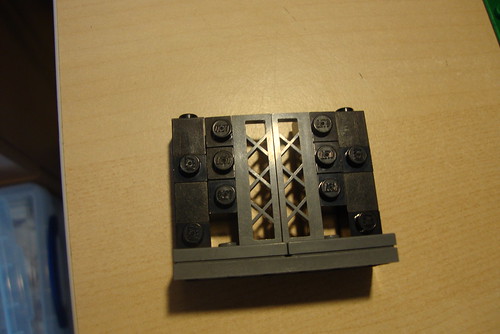
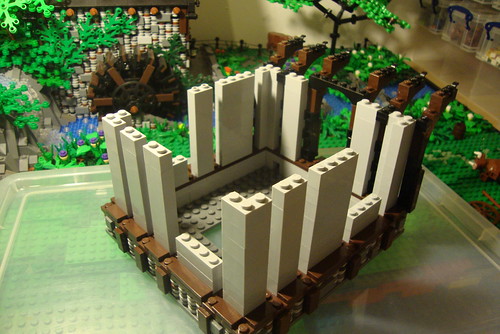
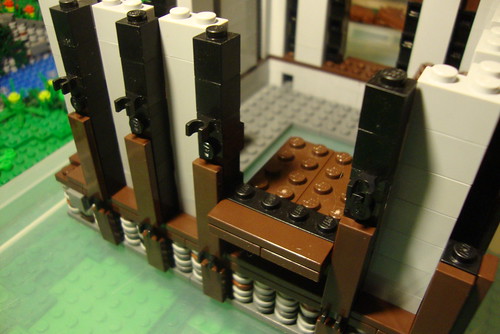
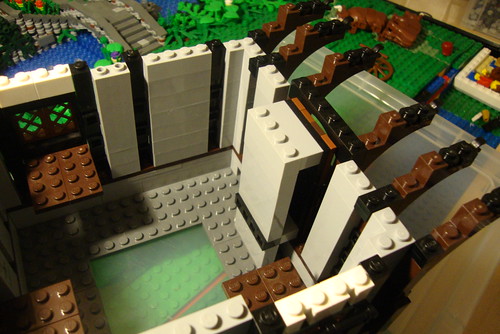
In this picture you can see that I have added stacks of light gray bricks which are positioned behind the dark brown tiles and are stacked at a height of 7 bricks.
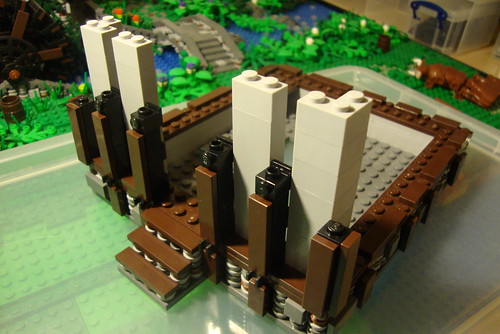
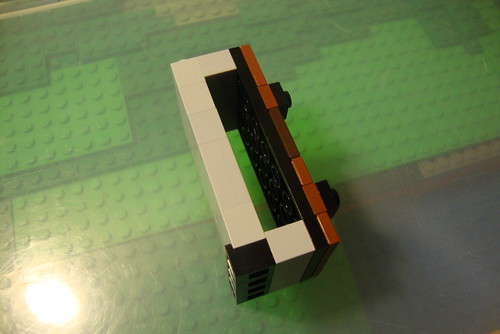
Next I have added some dark brown half arch pieces which sit on top of the woodwork. These will only be used at the front however.
Then we can add the rest of the light gray bricks. These go behind every tile that on the plates. As you can see in this picture, some of the stacks are only 2 bricks high, this is where the windows will go.
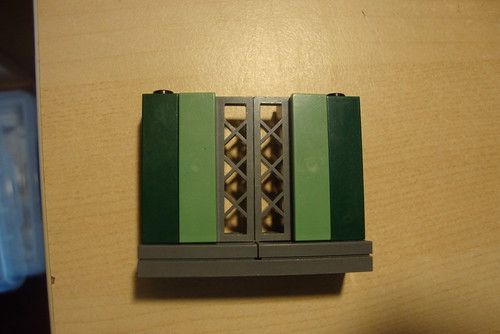
Now we need to build lots more wood work sections, this time they have also got 1x1 clip pieces as well. See the pictures below for how to make them.
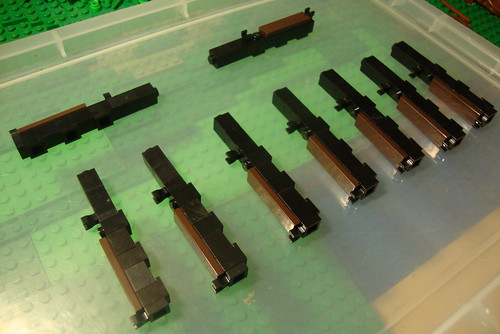
Now we place them all around the house in between the gray bricks.
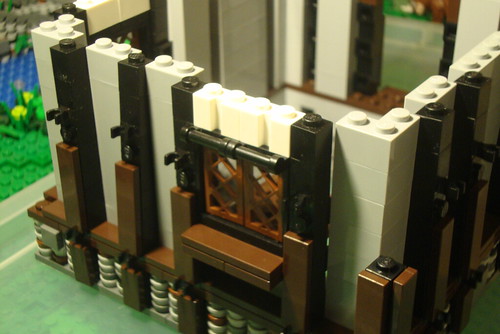
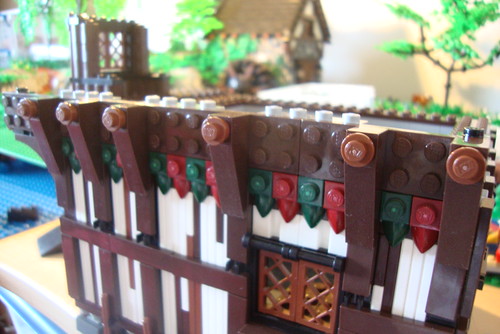
Then we add the window ledges on each of the lower stacks of Gray.
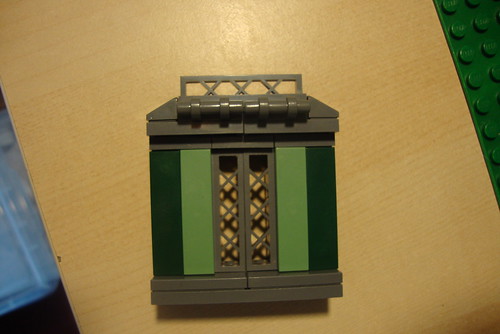
In this next picture you can see I have put the windows in place, with some 1x2 plates/with handle on top of the window piece and some white bricks.
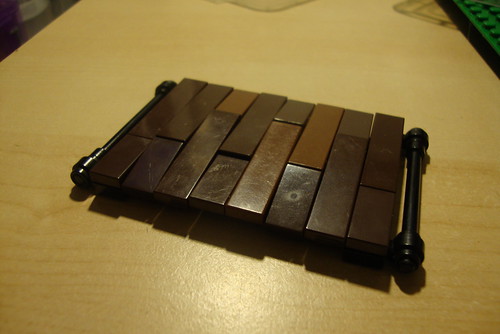
Now we need to make a door. For this, we simply get a 4x8 plate, then place tiles on it, leaving gaps to place the handle and hinges.
Now add the handle and hinges. I have used black tooth plates for hinges, but there is lots of different parts that also give a good effect.
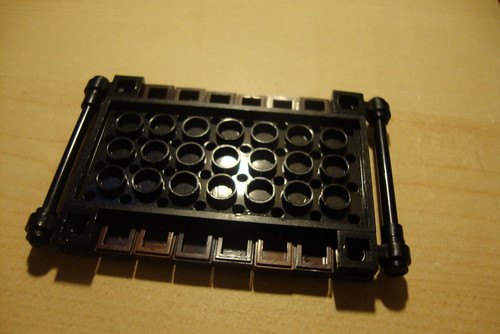
Now we need to build an attachment on the back of the door so it will stand in place. To do this we add two 1x4 bricks at the top and bottom of the door. Then we lay 4 headlight bricks on their side and stack some 1x4 bricks on top with a 1x4 brick with studs on the side at the very top.
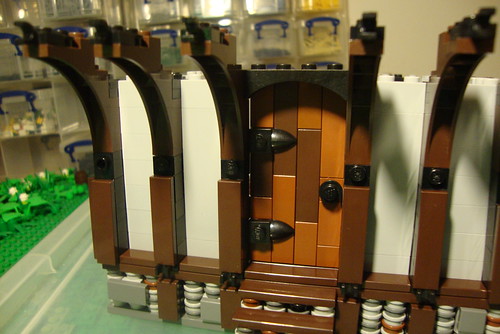
This can now attach to the door and allows the door to be placed flush up against the arch of the doorway.
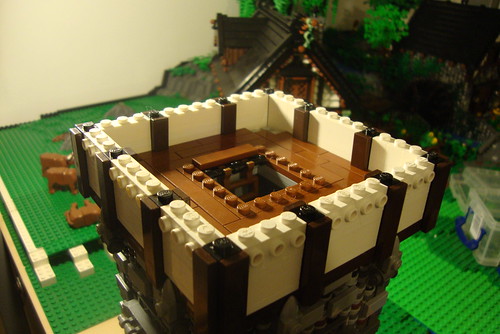
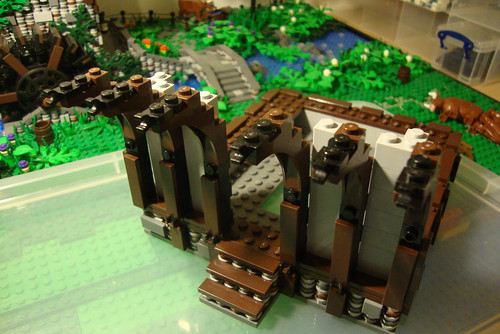
Now comes the tricky part. We are going to cover those gray bricks with upright standing tiles, and they are not going to be standing flat, they are going to be standing at their side. Now, stacking tiles like this will only work as long as it is done within an even number of bricks, 2, 4, 6 etc. Otherwise they won't fit exactly.
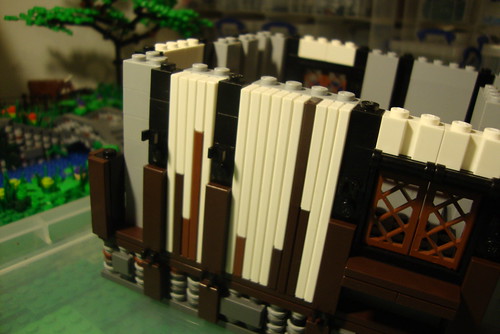
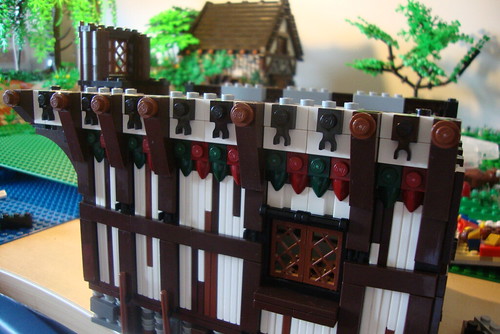
Then we clip on some dark brown tiles in front of the white tiles to hold them in place. As you can imagine, this works best if you use all 1x8 size tiles for the wall. Here however, I have added in bits of brown as well, but the tiles are surprisingly snug and they don't actually fall out easily. Obviously if you tipped the house on its side the small tiles would fall out, but the bigger ones are held in place.
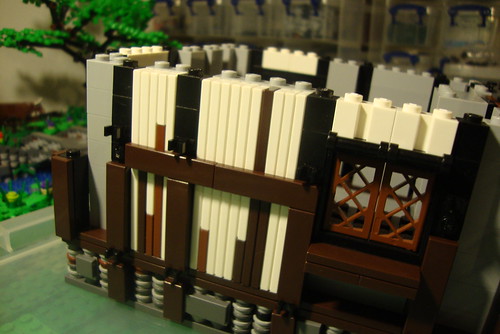
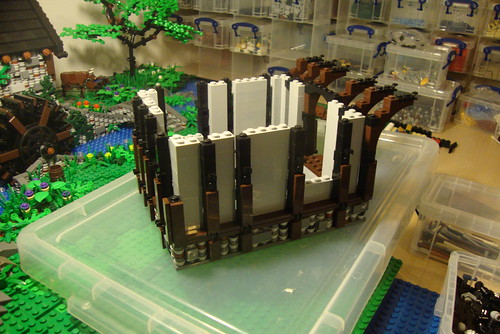
Now we do this same technique all around the house to finish up with something like this.
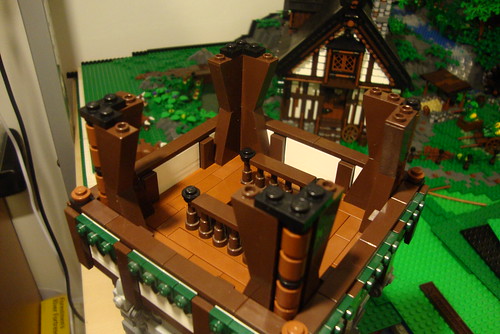
Next, we then lay more dark brown plates at the top and build a whole layer of bricks with studs facing out from the side. We can connect the rest of the dark brown tiles to these to complete the horizontal woo work.
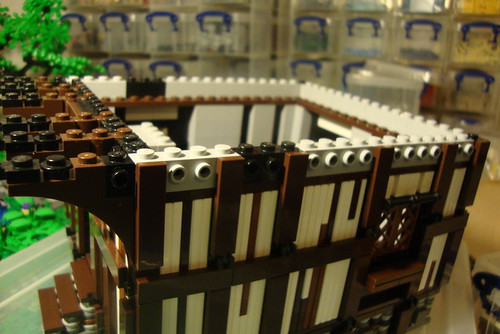
Then I have added some tooth plates to fill in the remaining gaps between the wood work. The tooth plates also over lap the white tiles which adds extra hold to stop them falling out.
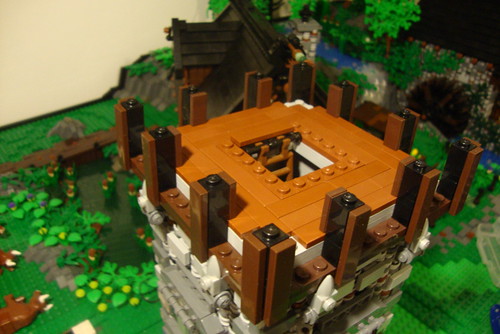
You can then cover the whole top in dark brown plates.
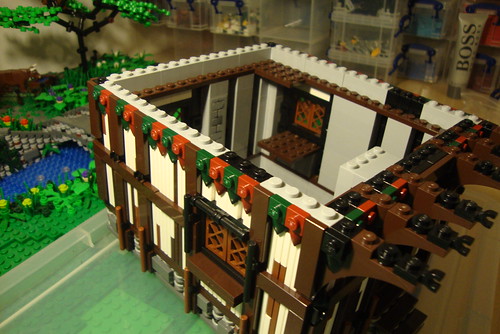
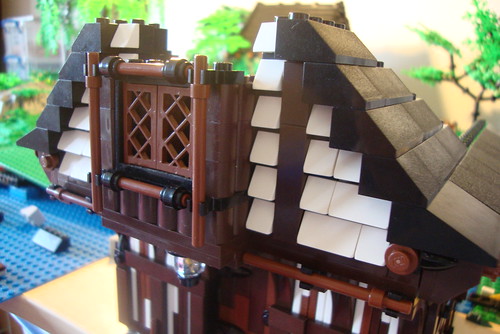
In the next picture, you can see I have started building a small wooden framed window box. This is done using the wood effect 1x2 bricks.

Then I have added some dark brown plates which are attached to 1x4 bricks with studs on the side. These should allow the plates to sit level above the tooth plates like in the picture below.
I have now added 1x4 dark brown slopes which line up with the wood work and will provide the supports for the overhanging roof pieces.
Then in between the slopes I have added some white tiles and jumper plates with 1x1 clip plates to add a bit of decoration.
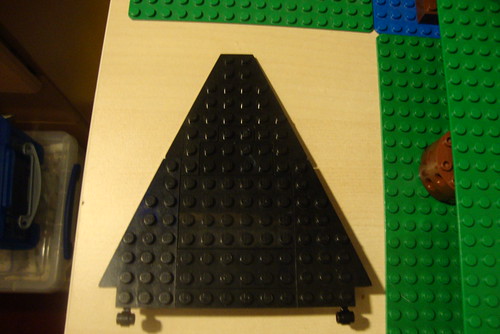
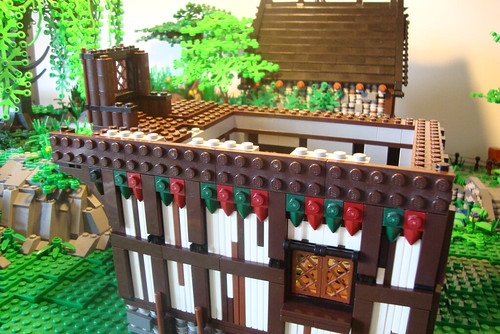
Now we can start laying the roof. For the first row I am using 3x3 roof pieces as they over hang enough to cover the supports.
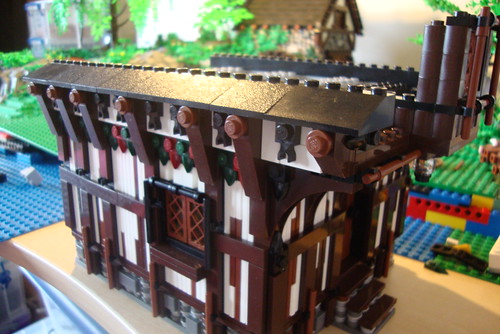
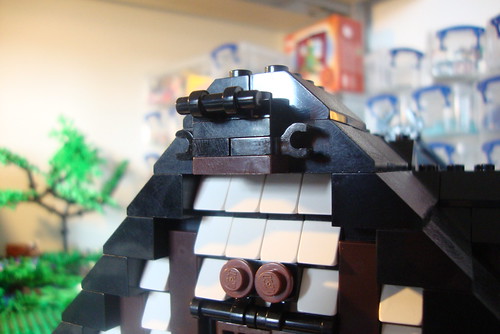
In the next pictures you will see I have built up the roof and also made a siding effect using headlight bricks and white 1x1 wedges. This is the most easiest way of doing this effect and not very challenging. It also doesn't look as good as the other way using tiles, but I will cover that way later on in the guide.
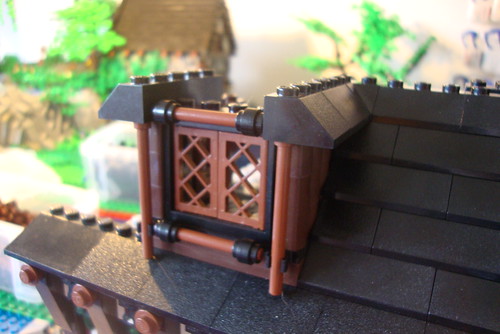
I have now topped off the window box with some 3x3 corner roof pieces.
I have now started to build another wooden window box on the side of the house in the roof. This is built the same way as the other one and is very simple.
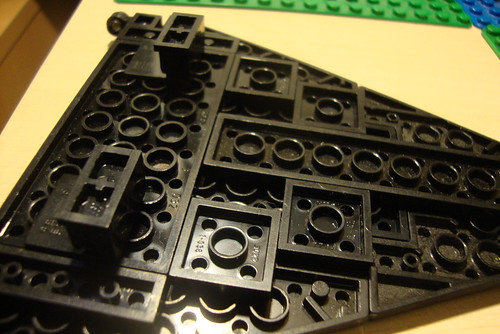
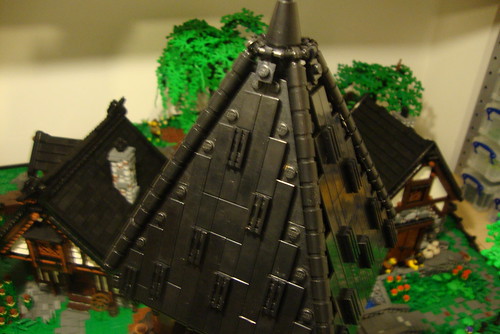
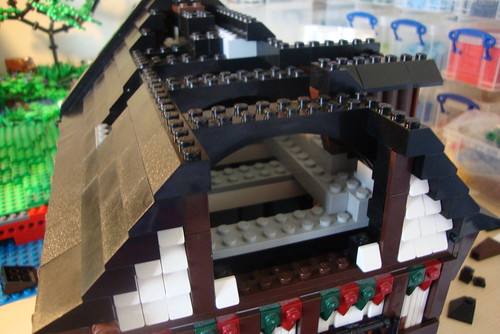
In this picture you can see I am building up the roof and I've added in arches as supports for the roof. It is very important to add supports for the roof as it will easily cave-in if you don't. Also note that I have left a 3x3 gap in the roof for the chimney.
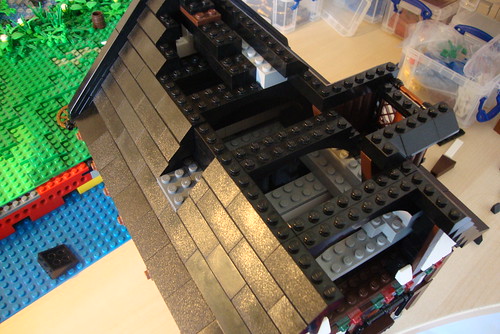
Here is another shot showing the supports inside the roof, and I have also started building up the back wall using headlight bricks and white wedges.
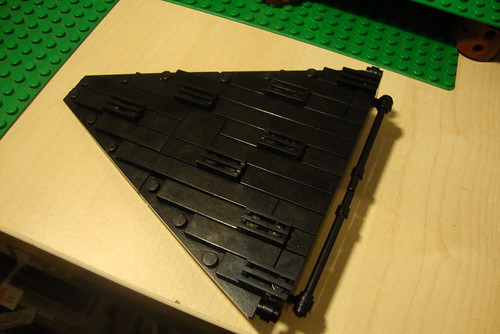
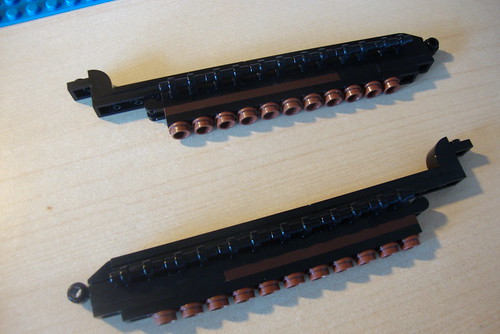
Now we need to add the gable sections which will attach to the clips sticking out from the top of the roof as seen in the picture below.
Here are the two gable sections. When you build these you have to measure them against the roof so you can build the right size for whatever size roof you have.
Now you can fit them in place like so.
Do this for every part of the roof and it should look like this.

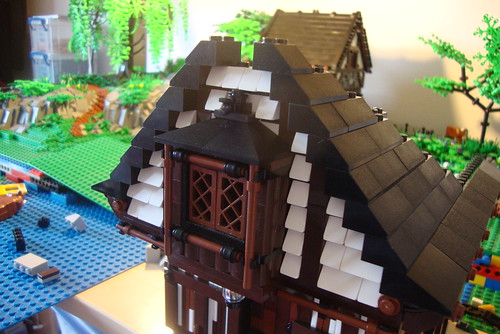
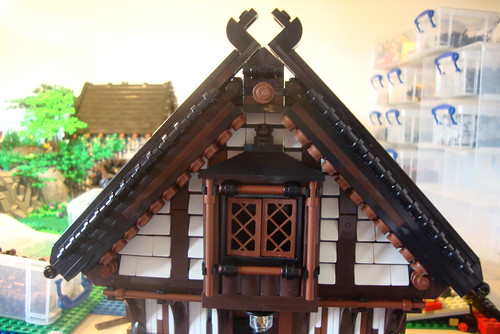
Now we place a row of 1x2 plates with handle along the top of the roof facing out on either side. On top of this we will place jumper plates spread out with tiles in between.
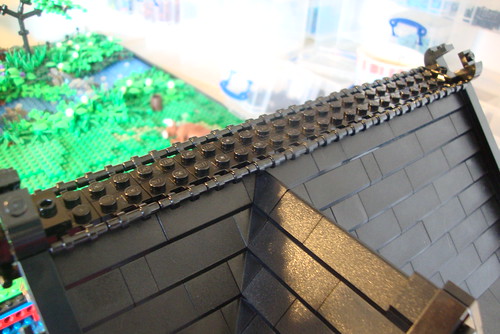
Along the jumper plates we can place a central row of plates with tiles on top, then at each end we can build up an interesting effect using curved slope pieces with 1x1 rounds underneath.
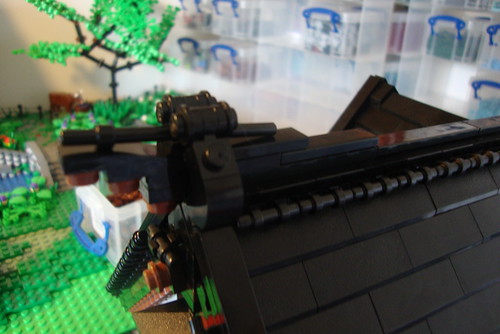
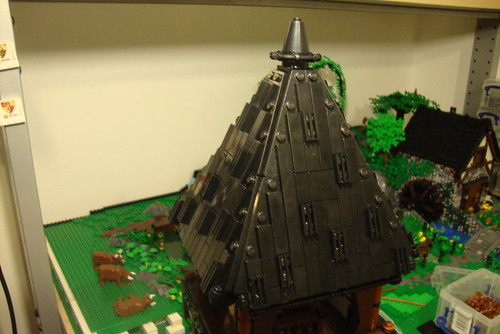
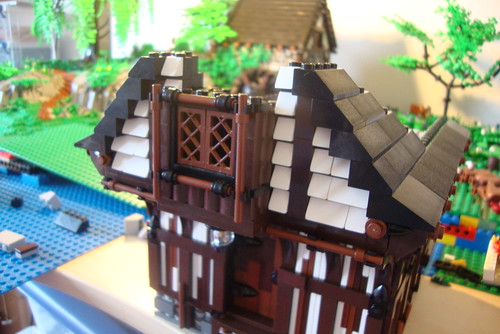
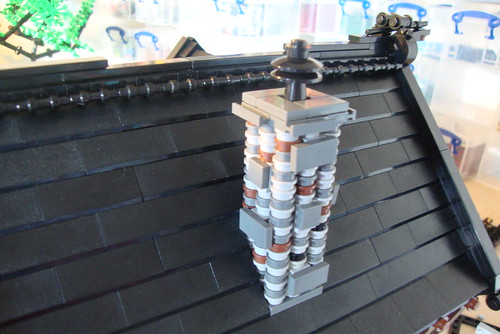
Finally we can add the chimney in the space left in the roof. The chimney is built using 1x1 round plates with some tiles attached to headlight bricks.
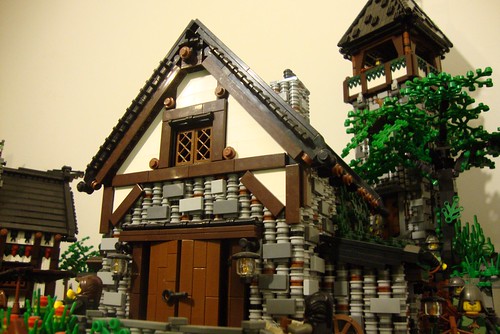
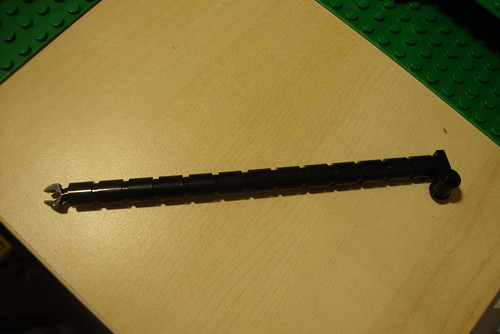
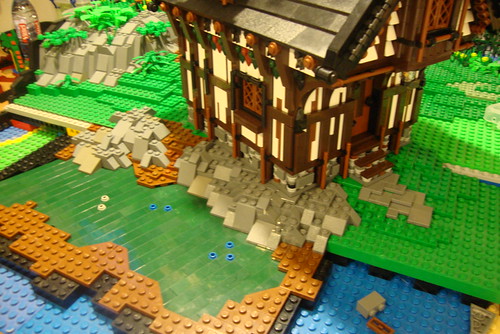
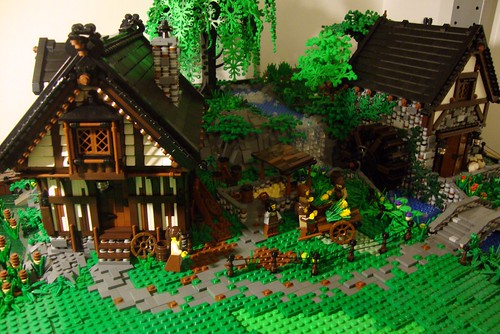
Now we have the finished building, all that's left to do is attach some pole pieces to the various clips in the wood work.
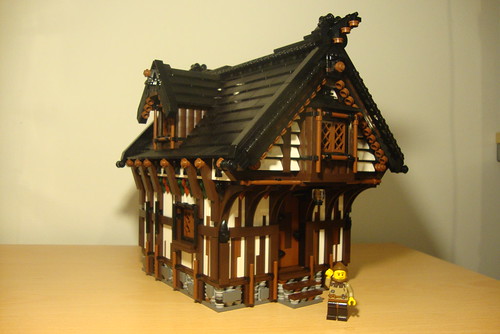
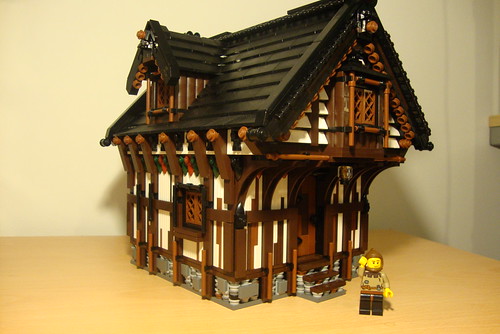
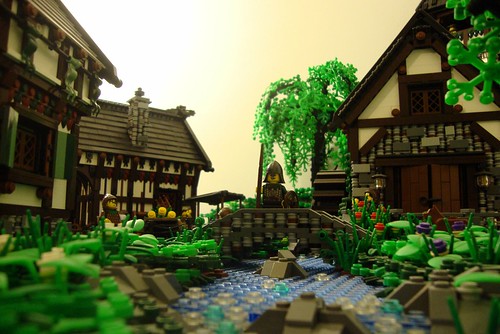
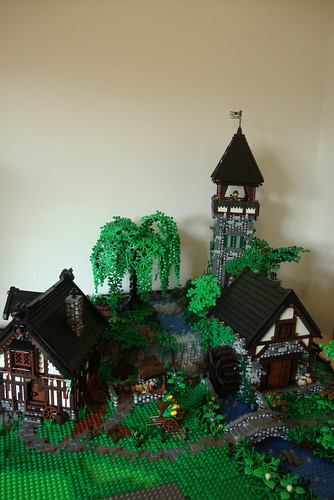
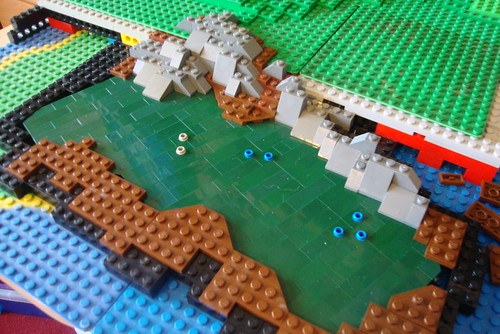
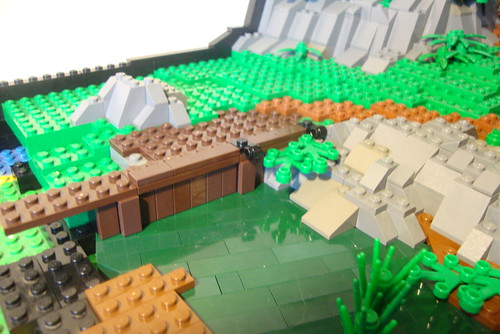
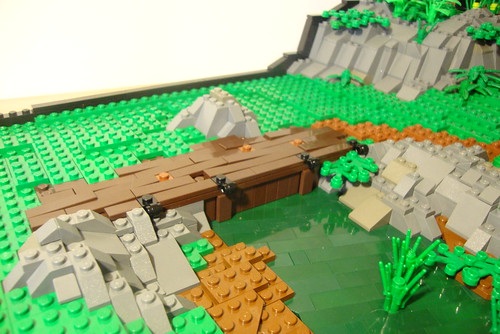
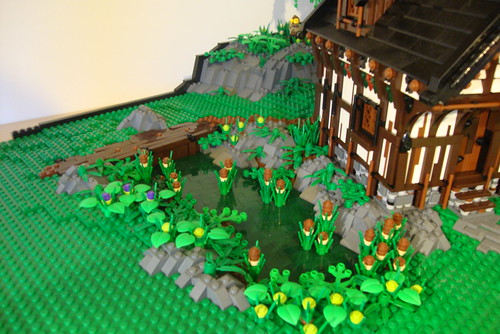
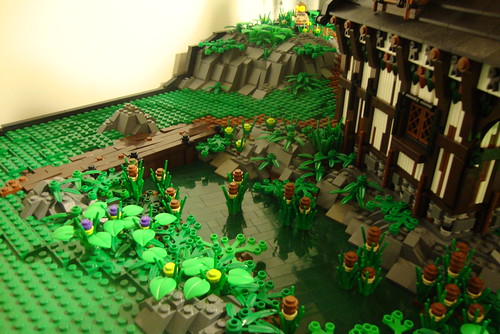
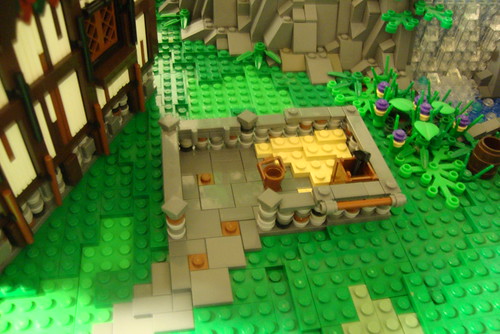
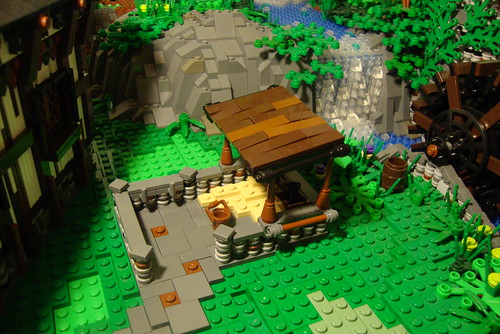
Next we will be looking in at how to attach the house at an angle on the landscape overhanging a swampy ditch.
Thanks for reading!
DC