Then we add two 1x4 half fence pieces. These wedge into the studs of the plate as shown in the picture below.
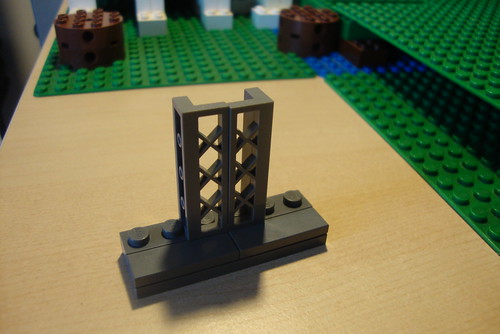
We then connect some headlight bricks to the fence pieces with the top studs sicking outwards, 3 on each side.
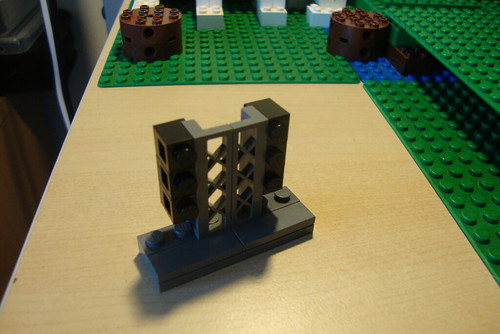
Now we add some more headlight bricks with a 1x1 brick stacked between them.
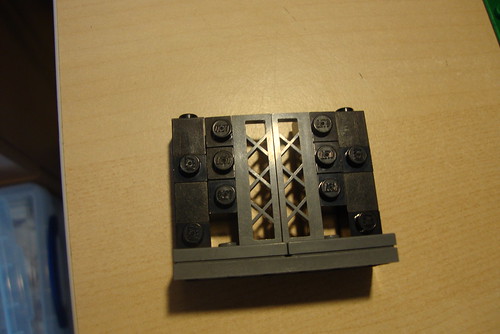
We can then add some tiles which clip on to the headlight bricks. You can do them in gray to match the windows or you can use any other colour you want. Here I have used to shades of green.
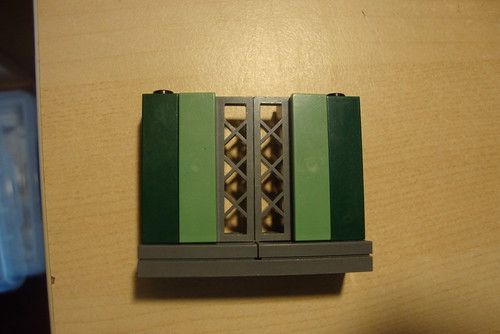
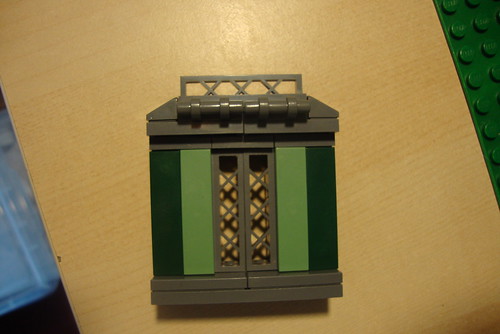
Then you add another 2x6 plate on top add add whatever details you wish. I have used some cheese wedges and another half fence piece.
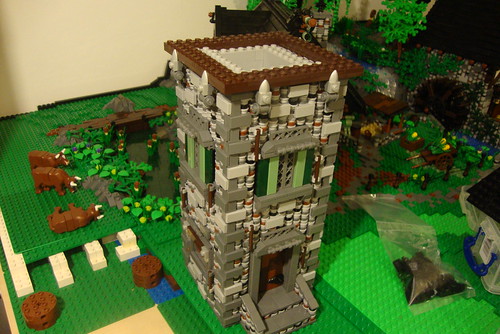
Here you can see the whole stone tower section with the windows in place. Like I said earlier, the tower itself is built using the same techniques as shown in the contruction of the water mill.
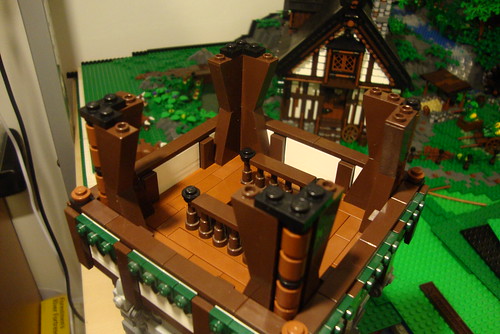
As you can see in the next picture, I have used some brown tiles for the floor and added a ladder in the center. I have built up posts using dark brown tiles and 1x1 bricks with studs on either side to attach them.
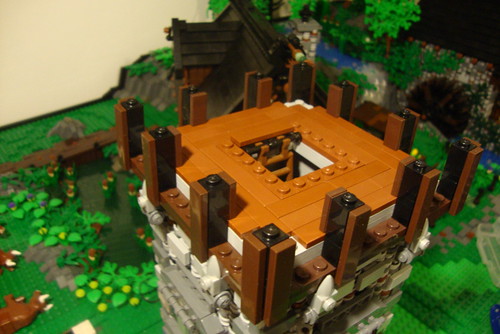
Next, we place white bricks between the posts, wit the top layer made up of 1x1 bricks with stud facing out.
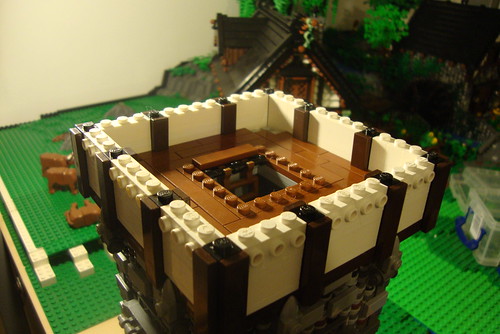
In the next picture you will see I have added dark green tooth plates to the white bricks and then place a layer of dark brown tiles over the top. I have also added some dark brown telescope pieces around the ladder in the middle and topped them off with tiles. In each corner I have built up some pillars which will support the roof.
We then add a flat roof using dark brown plates topped off with some black plates.

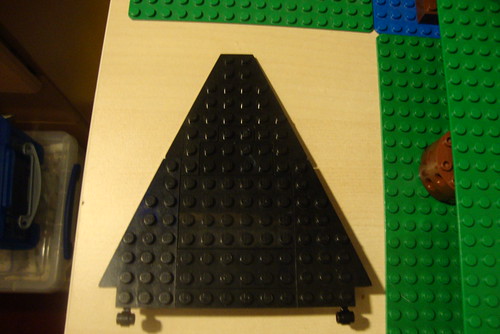
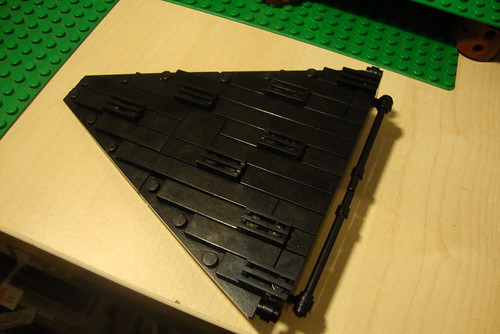
We now need to build the roof. We start off by laying out a triangle shape using wing plates.
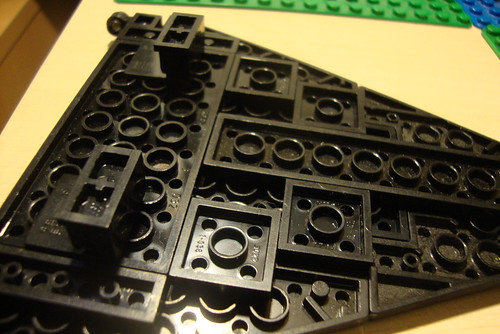
Then on the back we need to add some hinge bricks which will allow it to be attached to the tower.
Then some tiles and grill tiles have been added to the front for extra effect. You will need to make four of these!
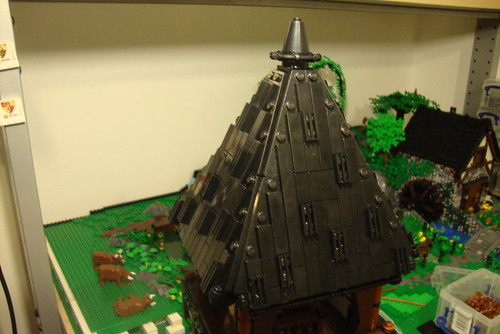
Once you have made all four, you can then attach them to he roof. They will all fit flush to each other and there will be a 2x2 space left in the middle. In this space you will need to build up a pillar of 2x2 bricks to the top. At the top of the pillar you will need to place a 2x2 round plate/with handle all the way round.
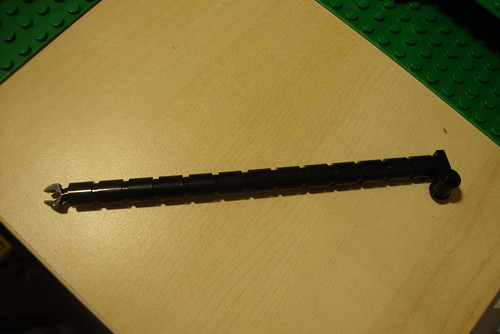
We then need to make 4 lengths of black 1x1 round stacks with a clip at the end, like in the picture below.
These can then be clipped to the handle piece at the top and run down each corner like so.
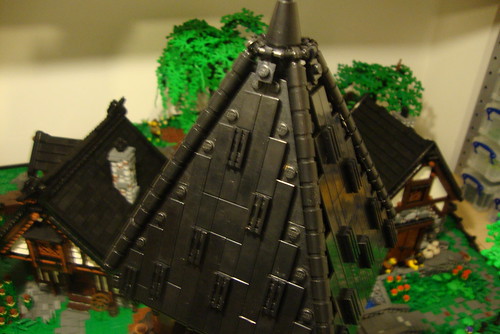
Now we have the finished tower! I have added a flag and some foliage around the tower.
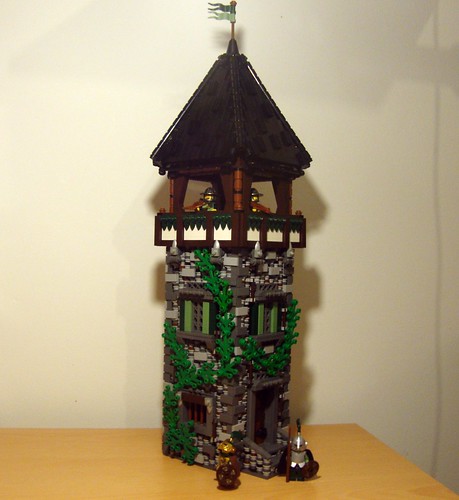
The tower can now be placed at the back behind the mill. It is attached the same way as the house earlier on in the guide, using tiles and jumper plates.
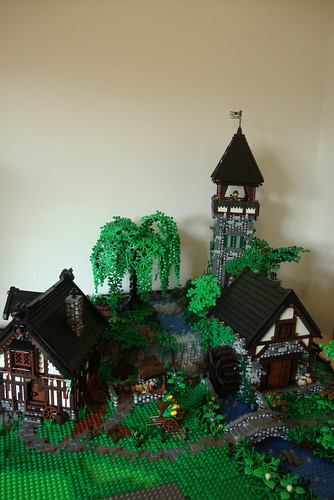
The next step will be to build some more different houses and shops for the village, as well as more landscape, puddles, well, and gallows.
Thanks for reading
DC
These are so amazing! Wish I had enough lego to make a mill for our local one at Pakenham...
ReplyDelete