The following was posted by "Derfel Cardarn" on Eurobricks.com discussion forum.
Ok then, time to continue on. The next part consists of three main features: A bridge, a Water Mill and a Waterfall. Each part is tied into the other as you will see.
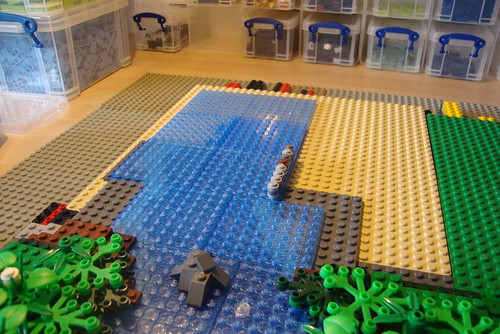
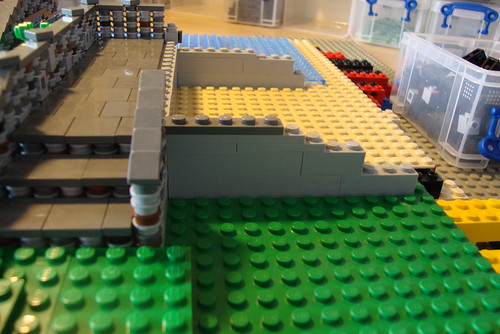
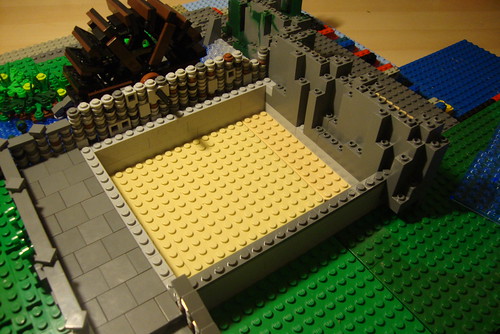
Firstly, we continue on from where we left, building more of the stream. Note that I have now made a flat edge with the water on the right side, and laid a few 1x1 rounds as a marker of where the wall of the Water Mill will go.
Before I start the Mill, we need to make a small bridge. Now when it comes to making large bridges, 1x1's are good, as there's a lot of room for different techniques on a large bridge. Unfortunatly, trying to make a small bridge out of 1x1 flat rounds is not easy, as you can't float them in mid air to make a curved shape. So, some normal plates are going to be of use here as well.
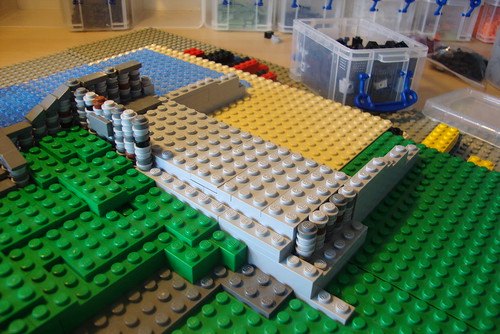
First we make the shape of the bridge using normal 6 wide dark grey plates.
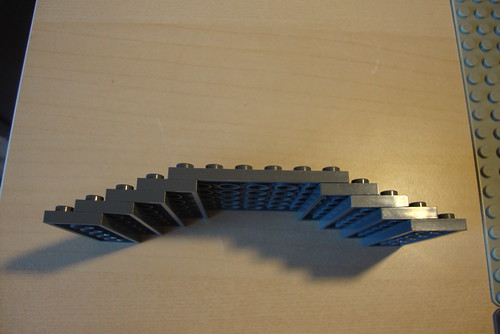
Then we build a 3 plate high wall of 1x1 round plates, then add some dark grey tiles and wedges to top it off.
Then we use the 1X1 rounds underneath the grey plates and stack them to make a curved shape like in the next picture.
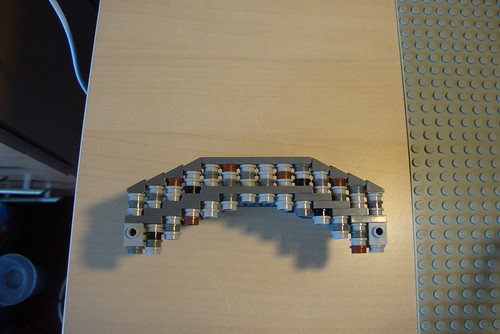
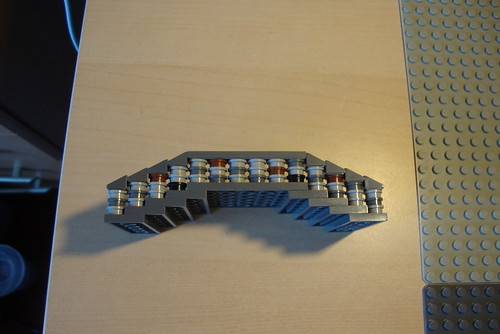
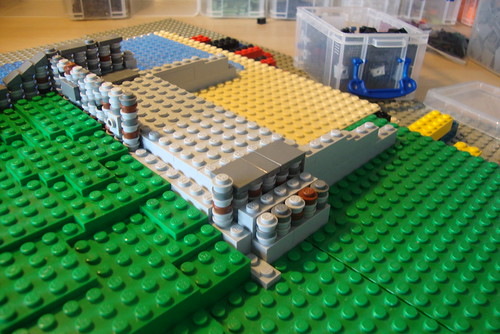
Note I have also added 2 1x1 bricks with stud at either end of bridge. This is to attach some foliage.
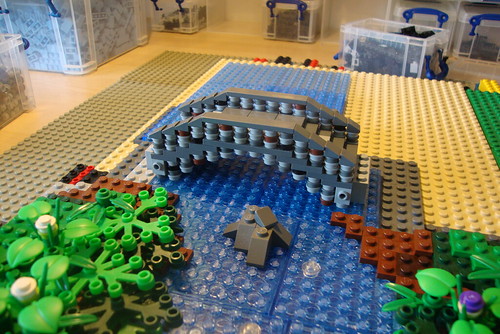
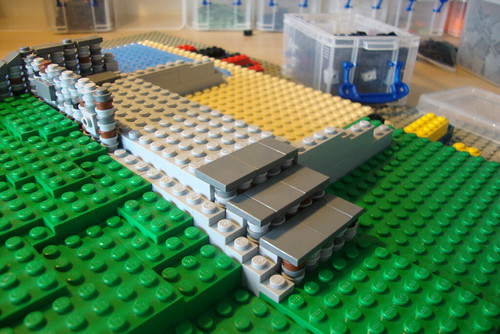
Then we repeat all that on the otherside, then we can add some tiles on the bridge and it should look something like this.

Now we place the bridge in position.
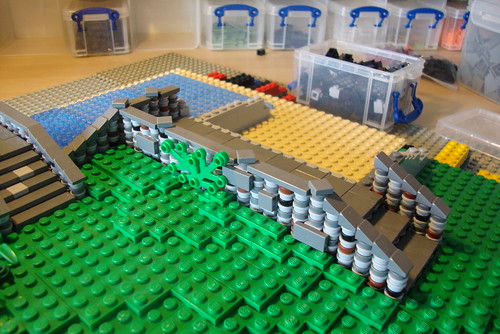
Then we can start building up the landscape to the bridge, using the same techniques as before. After which, we can add a bit of foliage.
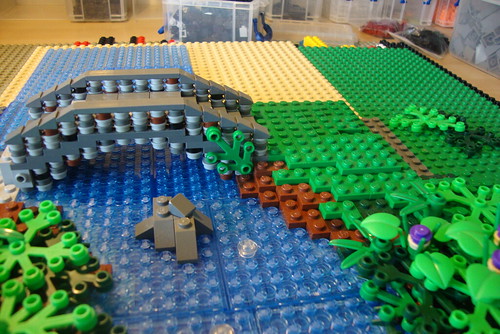
Now, we will leave the bridge for a moment and concentrate on the foundations of the mill. In this picture you will see I have started laying down a few grey bricks as a marker of where the mill will be.
I have also started to build the side wall of the mill which connects to the bridge.
Next I have started to build up the front of the mill and added some plates which will make the porch of the Mill.
Then we start building the stairs down step by step.
Once the steps are done, we can build the rest of the porch wall and then build up the landscape with green plates till we get something that looks like this.
Note that I have raised some 1x1 tiles above the rest and twisted them at an angle. This gives quite a nice effect and tops the porch wall of nicely.
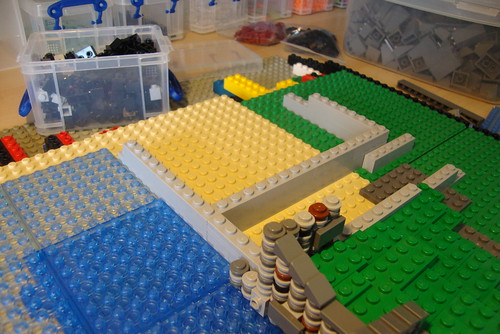
In this view, you can see a dark grey plate that marks where we will start the wall of 1x1 round plates. This means that we will need to build up the landscape to that level, but that will come latter.
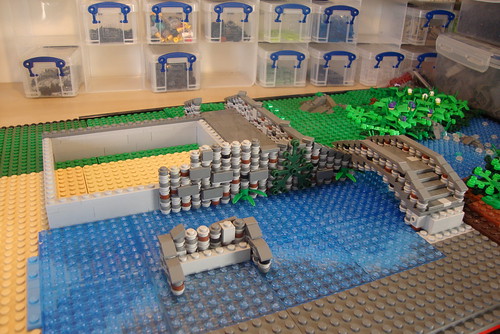
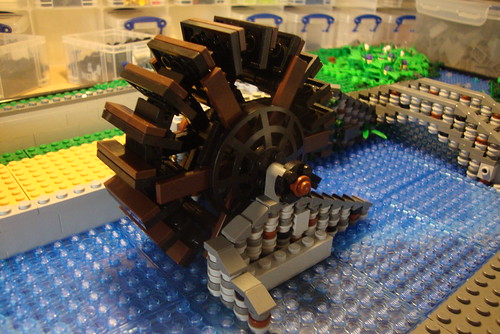
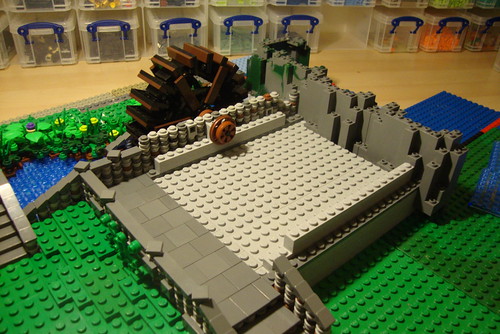
Now, we can see from another angle that I have now marked out the full foundation of the mill, and I have also carried on with the outer wall by the steam. On the other side of the stream I have built a small section of wall. Between these sections of wall is where our water wheel will sit.
So now we need to find out at what height the water wheel will sit on the wall, and to do that, we need a water wheel!
There are 3 main types of water mill designs. Under shot, Over shot and Breast shot. Under shot is where the water wheel sits partly submerged in the stream and is powered by the stream's flow. Over shot is where the water is channeled to drop on top of the water wheel, and Breast shot is where the water drops in half way on the wheel. The most common you will see in pictures is the Over shot design, under shot was more common in medieval times however, so this is the method we will use.
Every time I build a Mill, I try a different design of water wheel. I wanted one that looks like it has large paddles which is what were needed for the job. I figured hinge pieces were the best way to go, and after trying out all the different hinge pieces I found the 1x2 brick hinge to be best. Here is a picture of all the parts of the water wheel.
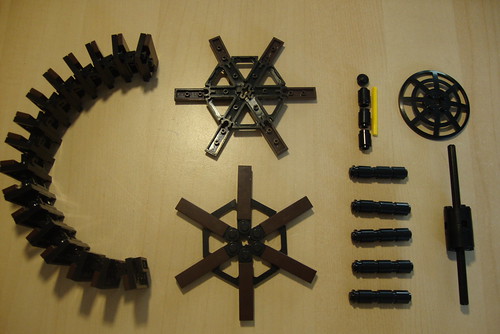
You can see I have used a 2x4 plate with a dark brown tile and a 1x2 brick hinge for the paddle design, then kept stacking them on top of each other to make a chain that can then bend to a circle. The water mill parts from MMV set are used to make the structure and I have used black 1x1 rounds with a pole piece through the middle to make a double headed pieces to attach the two wheel frames together. The following pictures show how it is put together.
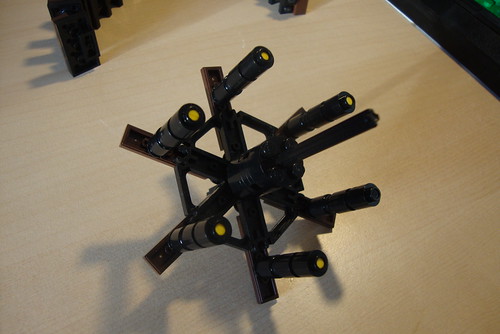
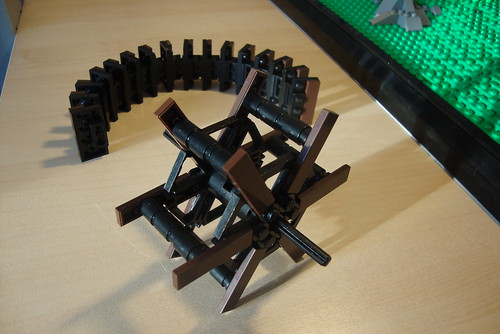
As you can see, I have not wrapped the paddles all the way round the whole wheel. This is so it gives the appearence that the bottom is submerged in water.
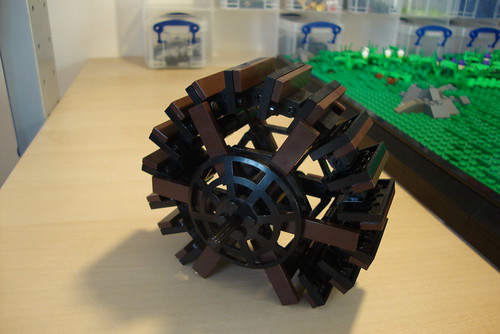
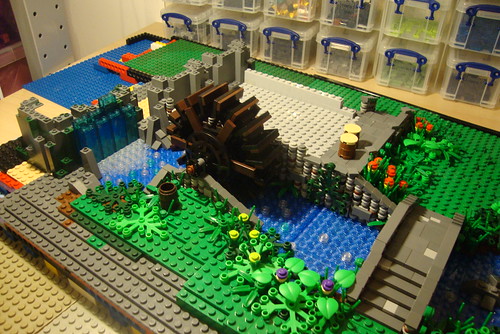
Now we can attach the wheel in place by threading the technic axel through a 1x2 brick with a hole or any other way that suits you. When it comes to putting the hinged paddle design round the water wheel frame, its simply a case of bending and messing with all the hinges till you get a round shape, it is pretty stable and will stay in position.
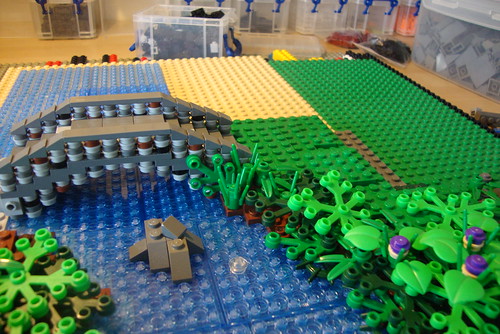
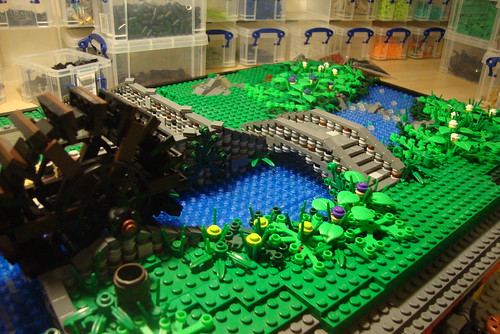
Then, as before, we can build up the landscape and add some foliage. The small bridge is now fully landscaped into place.
Now we can turn our attention back to the rest of the Mill. As you can see, I have now replaced the back wall of the mill with some rock pieces(BURPS). This is because the mill will be built into a hill, as we want to get the effect that the old mill is part of the landscape.
This also means we will have a nice hill as a back drop to the village, but more on that later.
Next we can lay some plates down inside the mill for the floor.
I have also started to build up the Mill wall's.
Because the Mill is built out from the hill, this allows us to have a waterfall where the stream flows off the top of the hill. As you can see, I have marked out where the waterfall will drop with trans clear plates. I have also added some rock pieces and slopes to mark where the rocks will join to the mill and the land. This is just the template, as the water fall needs to be properly built up.
So for now, we have this.
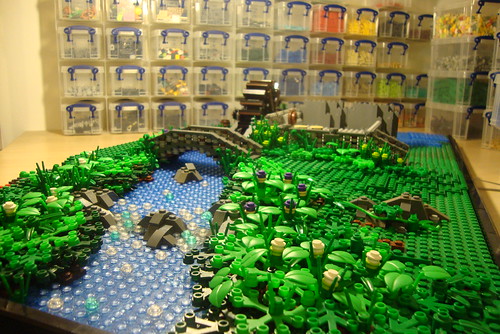
Next up we will see a big difference. The next part involves finishing the mill and waterfall, then building up the hill. Thats when things will really start taking shape.
I have nearly finished that section, so won't be long till the next post.
Thanks for reading
DC
No comments:
Post a Comment